Perfect for children’s parties and an ideal kids activity during the school holidays. Childrens DIY flower crowns also make a great birthday gift for your crafty little ones or a christmas stocking filler.
How do you make a simple flower crown?
Follow the instruction below to make one of our stunning DIY childrens flower crown kits.
Your flowercrown magic kit contains:
- 7 beautiful artificial flowers
- Beaded florists wire
- Florists tape
- Leaf vine ribbon
First of all arrange the flowers in the pattern that you want them to appear on your flowercrown
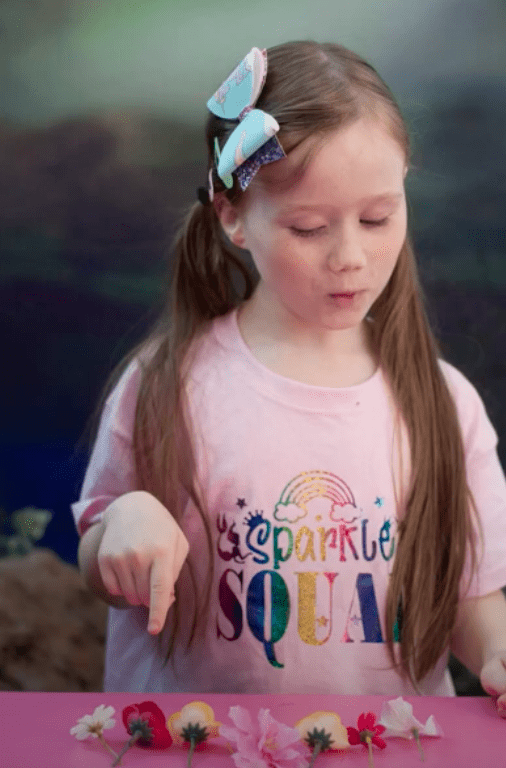
Measure the wire around your head and hold the wire together where it meets
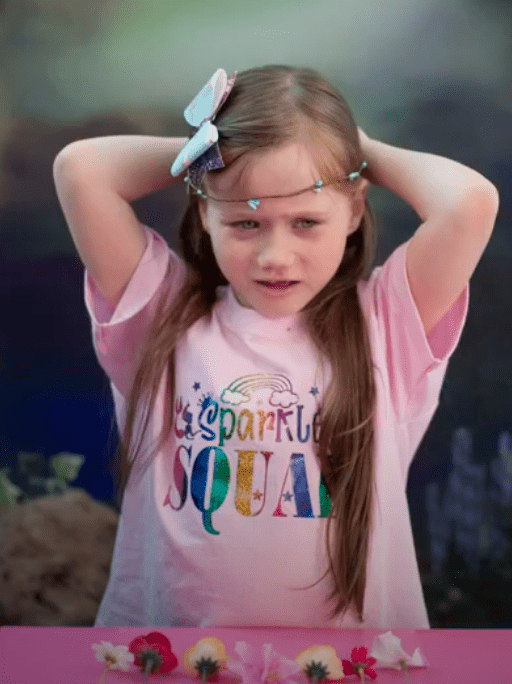
Hold the wire up and you will see a shape like a fish!Wrap the ends over the wire so that you make a circle shape
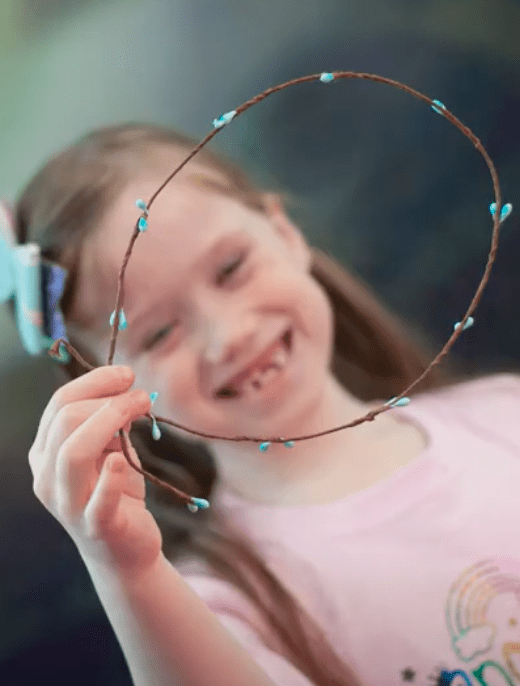
Take a piece of tape and rub it between your finger and thumb until you feel it go sticky
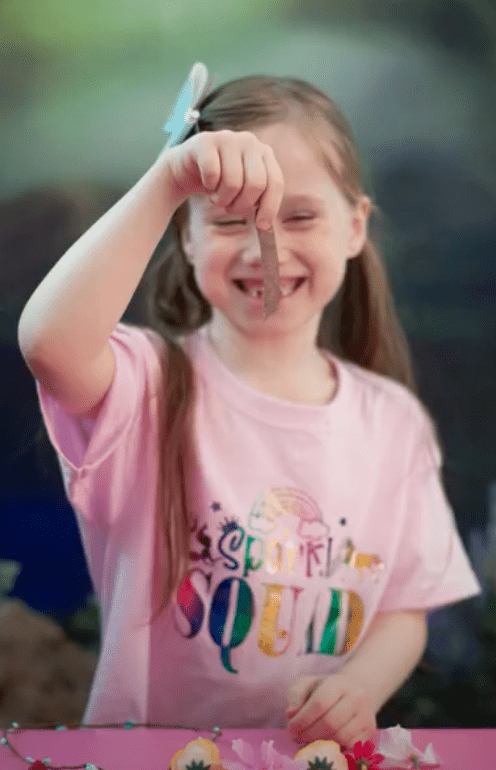
Use the tape to fasten down and cover the scratchy end of the wire.
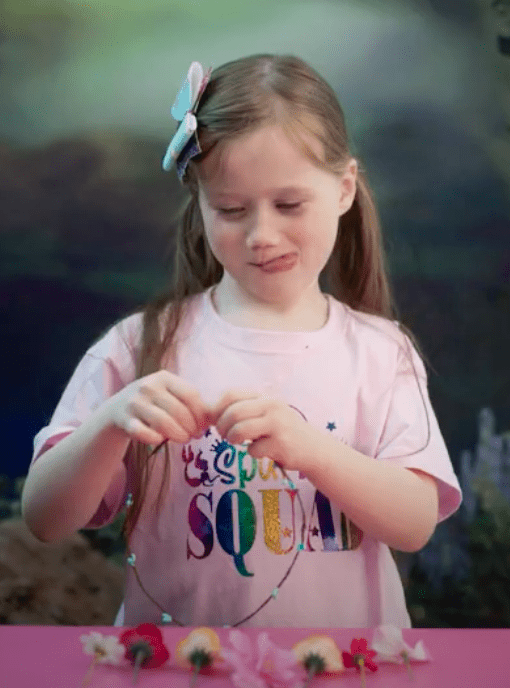
Remember to RUB the tape, WRAP it over the wire and SQUEEZE it together
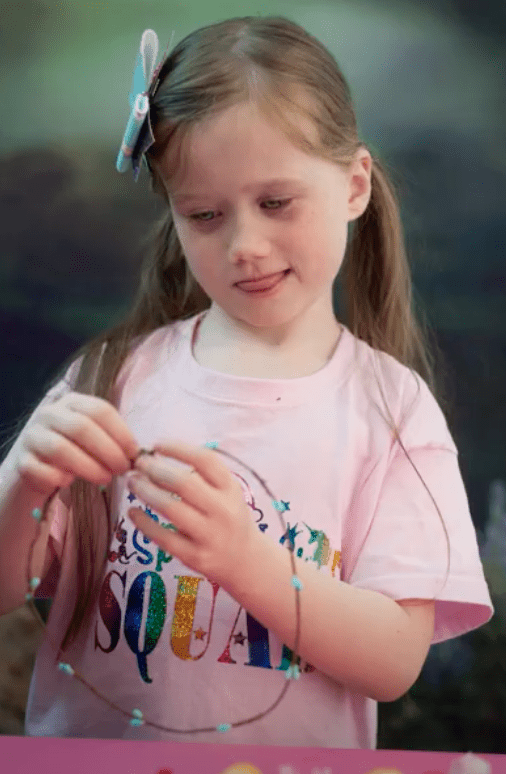
Do this for both ends of the wire.
This will be the back of your flowercrown
Take your first flower and place it against the wire
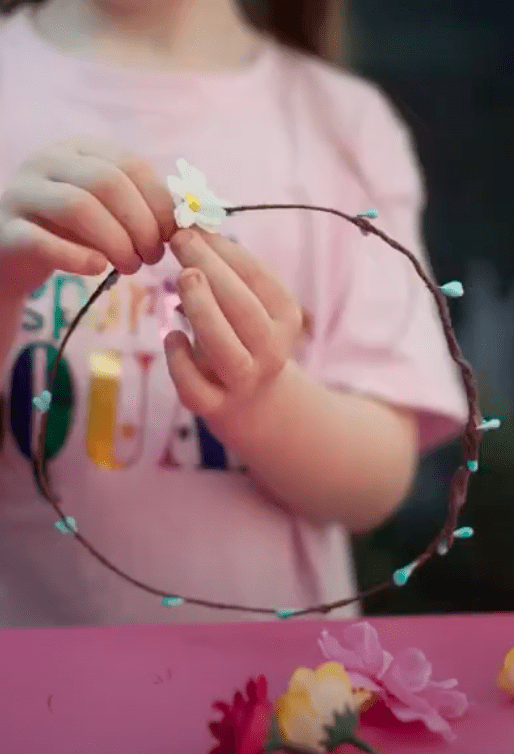
Use the tape to fasten the flower to the wire
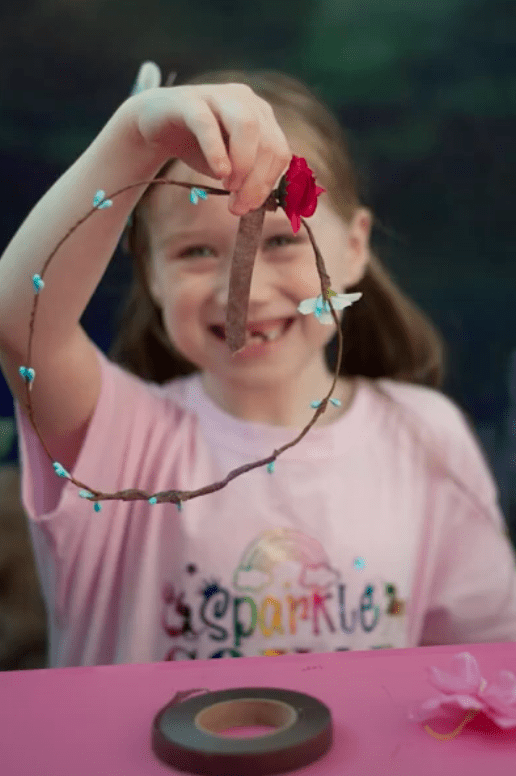
Start the tape as close to the flower head as you can
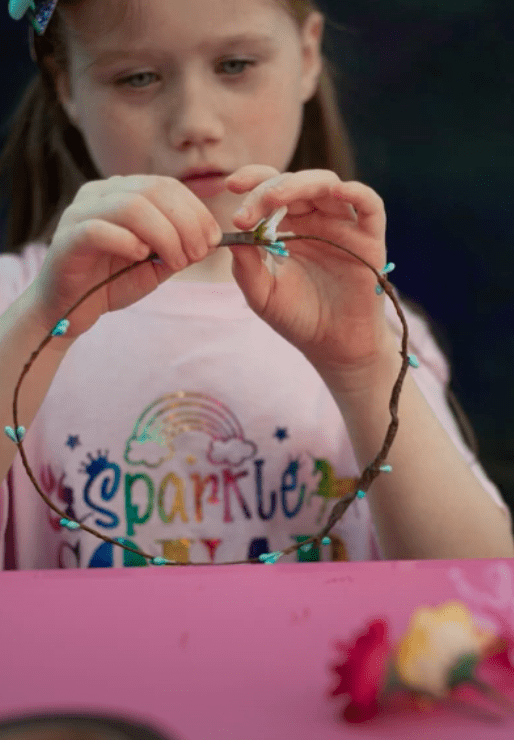
Work your way down the stalk with the tape, remembering to RUB, WRAP & SQUEEZE
Take your next flower and repeat.
Take care not to place it too close to the first flower so that it doesn’t get squashed

It’s best to work in-between the beads
Keep going until you have stuck all of the flowers onto the wire
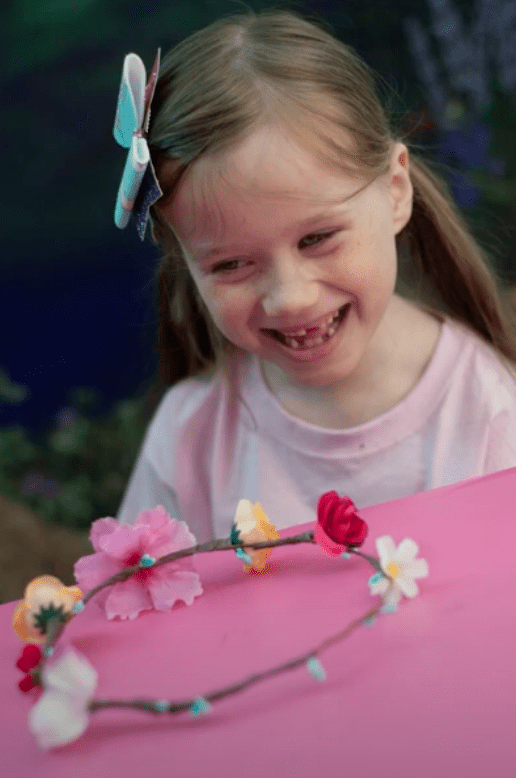
Now its time to add a ribbon!
Find the middle of the ribbon by folding the ribbon in half
Put the middle of the ribbon over the middle of the front of the flowercrown
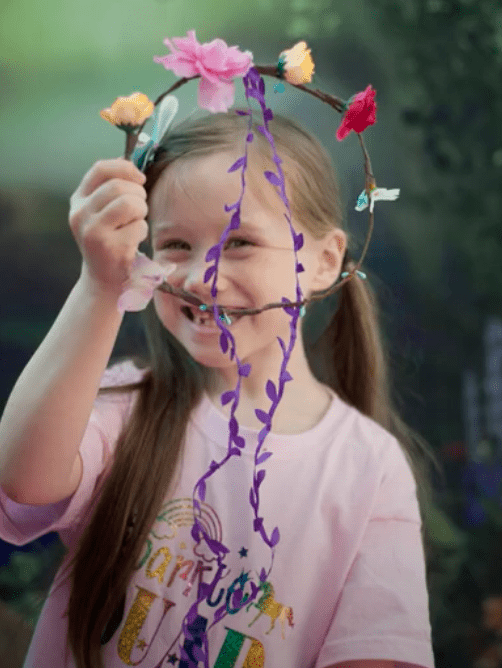
Doing one side first, wrap the ribbon under and over the wire in-between the flowers and beads.

Stop when you get to the middle of the back of the flower crown
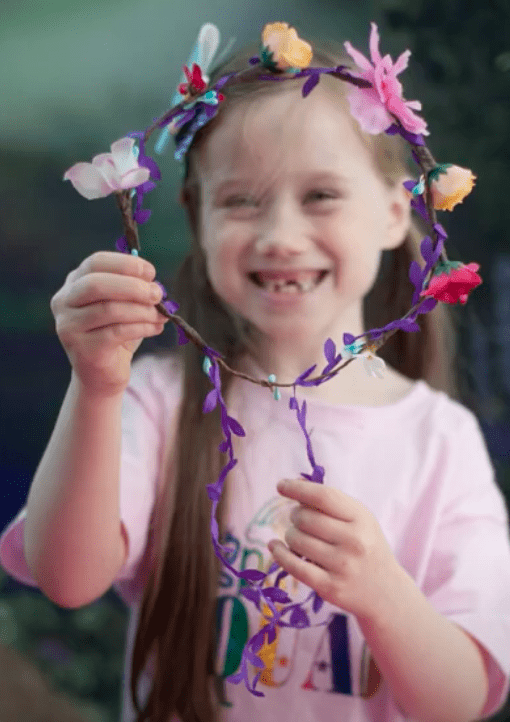
Use a piece of tape to fasten the ribbon to the wire
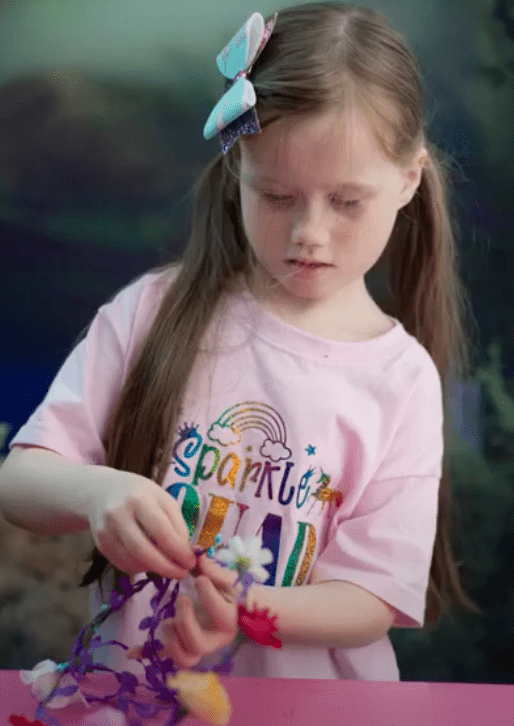
Leaving a length of ribbon dangling down
Repeat this on the other side
So that all of the wire is covered and the ribbons are trailing at the back
Ta-dah! You have now finished making your beautiful flower crown

Put it on and see what an amazing job you have done
Choose from one of our brilliant childrens flower crown kits below
-
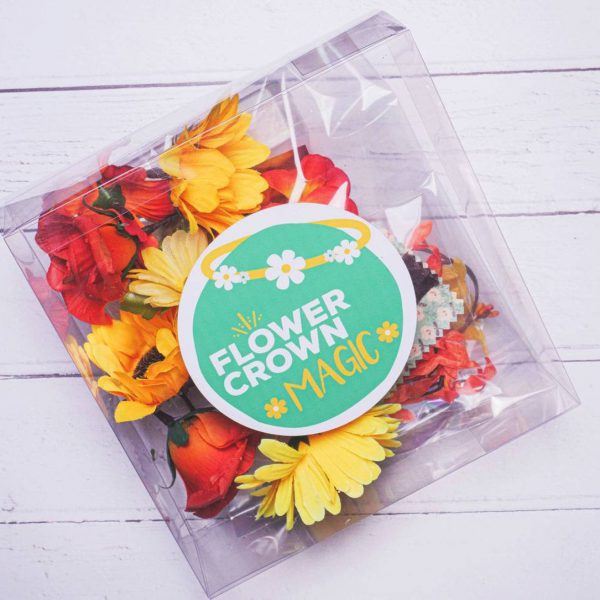 FREE UK DELIVERYFlower Crown Making Duo Kit, Mother & Daughter DIY Flower Crown craft kit, Mummy and Me activity£20.00
 -
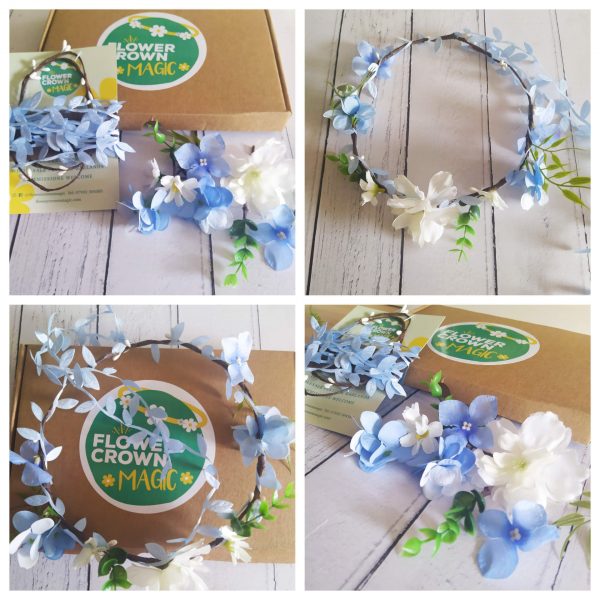 FREE UK DELIVERYDusty Blue – DIY Childrens Blue & White Flower Crown kit£8.95
 -
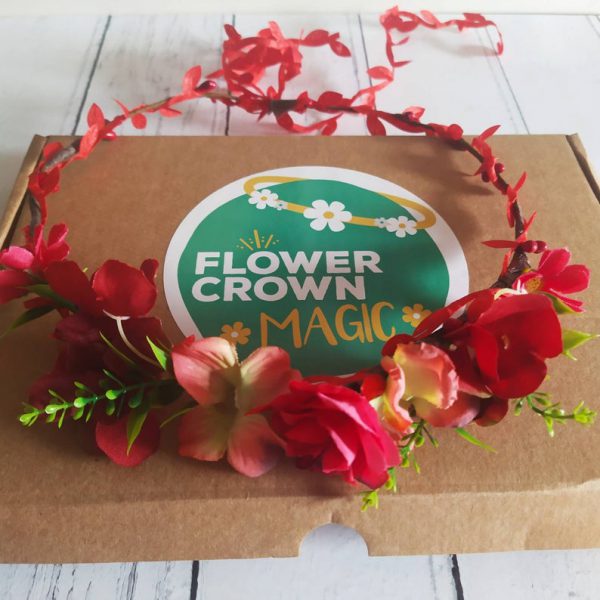 FREE UK DELIVERYRockin Red – Childrens DIY Red Flower Crown Kit£8.95
 -
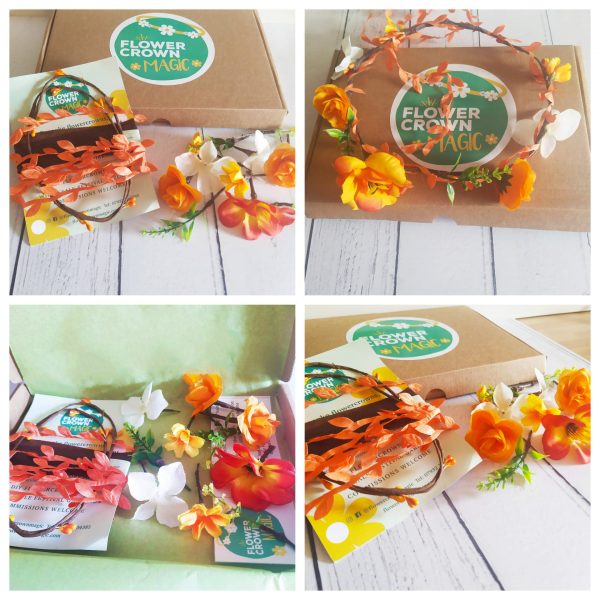 FREE UK DELIVERYZesty Orange – Kids DIY Flower Crown Kit£8.95
 -
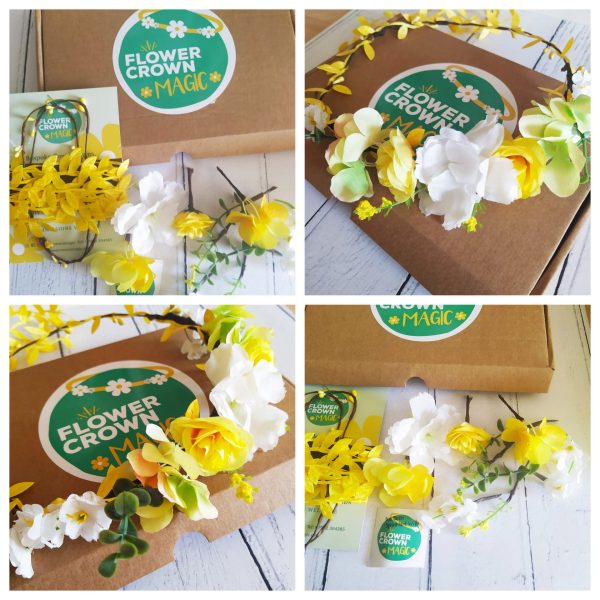 FREE UK DELIVERYLemon Sherbet – DIY Yellow and White Kids Flower Crown Making Kit£8.95
 -
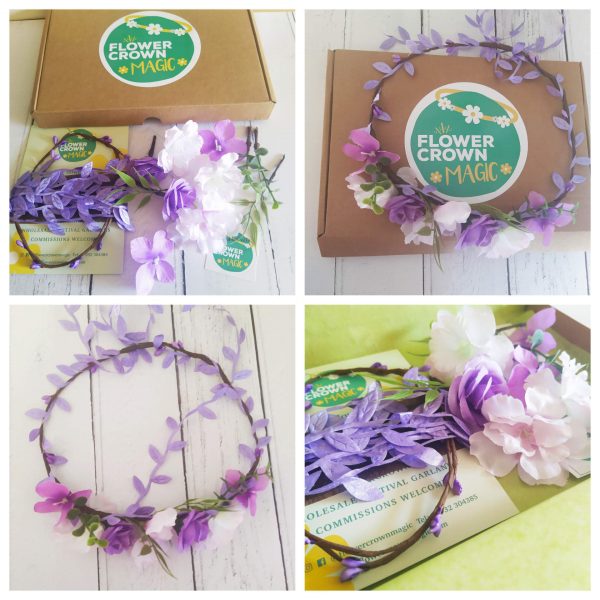 FREE UK DELIVERYLush Lilac – Childrens DIY Lilac & White Flower Crown Kit£8.95
 -
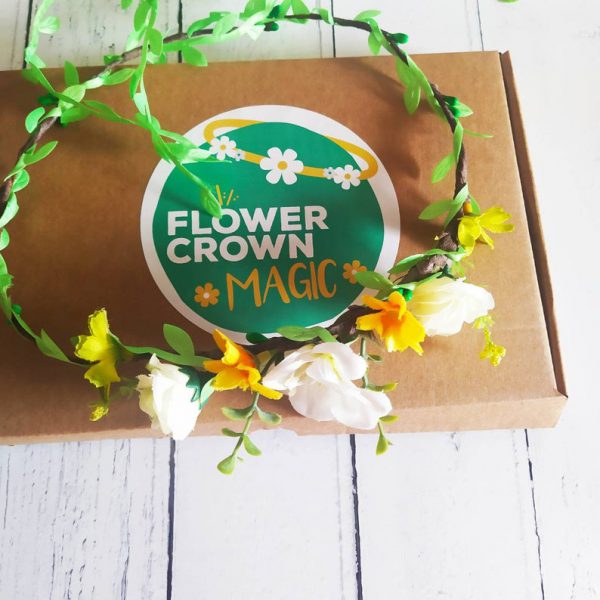 FREE UK DELIVERYLuscious Lime – DIY Flower Crown Making Kit – Lime Green and White£8.95
 -
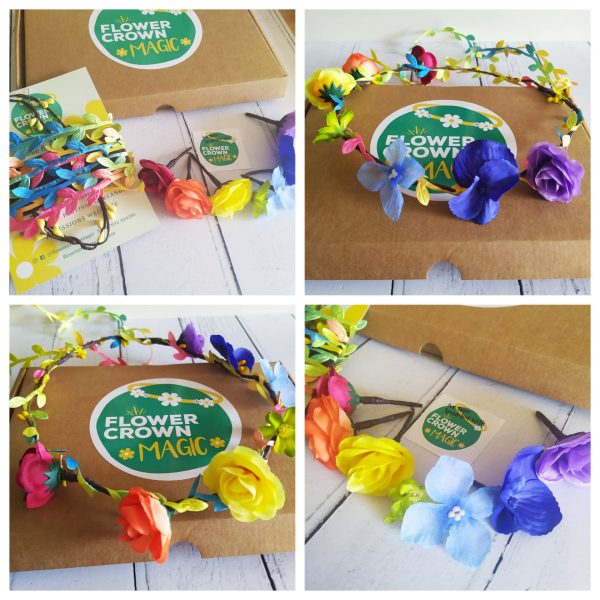 FREE UK DELIVERYRainbow Razamataz – Kids DIY Rainbow Flower Crown Kit£8.95
 -
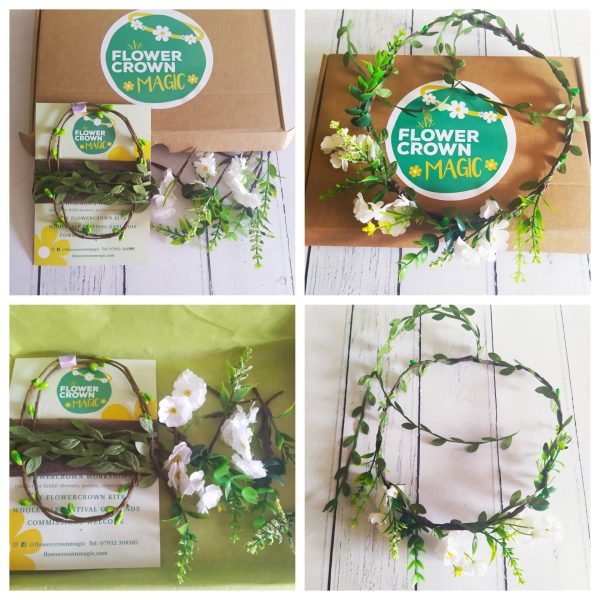 FREE UK DELIVERYForest Green Dream – Kids Green & White DIY Flower Crown Kit£8.95
